new fusion splicer,best fusion splicer,high quality fusion splicer Guangdong Tumtec Communication Technology Co., Ltd , https://www.gdtumtec.com
HP HP Pavilion Wave Desktop Host Disassemble
I bought HP's Pavilion Wave over half a year ago, though I haven’t really used it much... Looking at the HP online store now, only the top-tier models are available, while the mid-range and budget configurations have disappeared. What’s going on?
When I first got it out of the box, it came with a single-link sun setup:
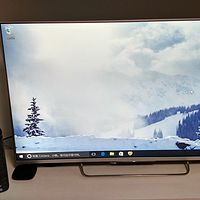
HP HP Pavilion Wave, taken by Xiaobian. A few years ago, my Lenovo T60 laptop gave me problems for almost 10 years, so I decided to switch to something else. I’ve been using a notebook for quite some time now, and the screen feels small. Since I don’t need to move the computer around much at home, I decided to get a desktop this time. My requirements are simple: no gaming, mostly browsing the web, writing Word and Excel documents, watching movies, etc.
Now, my current desktop setup includes the original wireless mouse, which I found difficult to use, so I switched to an old mouse I had lying around at home:
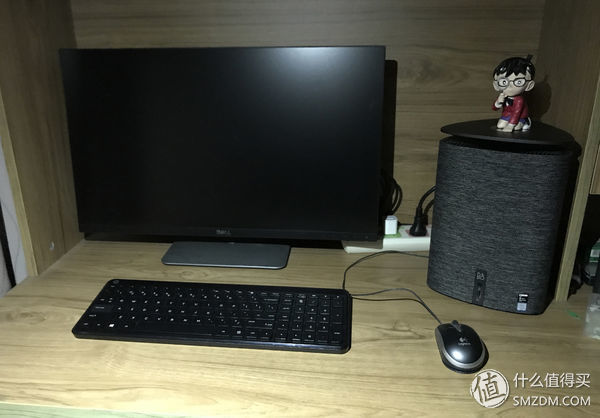
I also bought a small bracket to fix the huge power adapter under the table:

At the time, the configuration was fairly decent, with a 1TB mechanical hard drive. Sometimes at night, I could hear the hard drive spinning. Recently, I’ve been feeling the need to upgrade, so I’m considering switching to an SSD and expanding the RAM.
It took me a while to finally decide to open up the case. Back then, I didn’t find any teardown guides online, but now I’ve discovered a few articles. With these guides available, I figured I’d give it a shot.
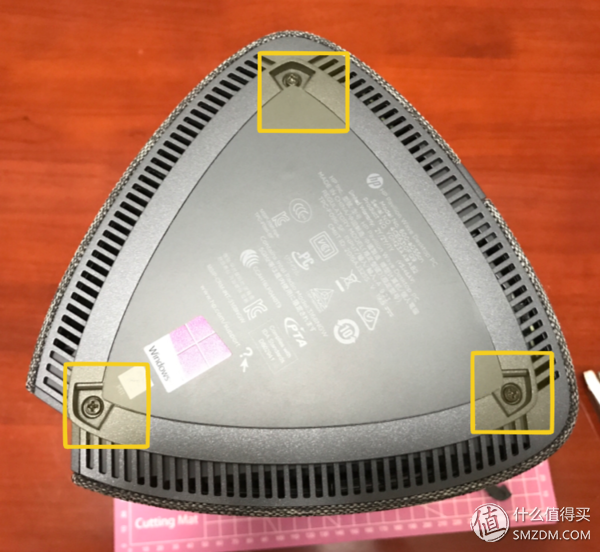
First, turn the computer upside down and remove the three anti-slip mats:
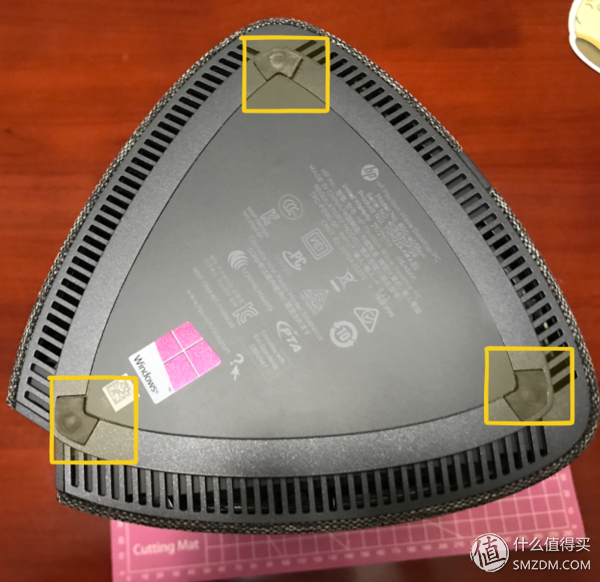
Notice the anti-slip stickers near the interface area:
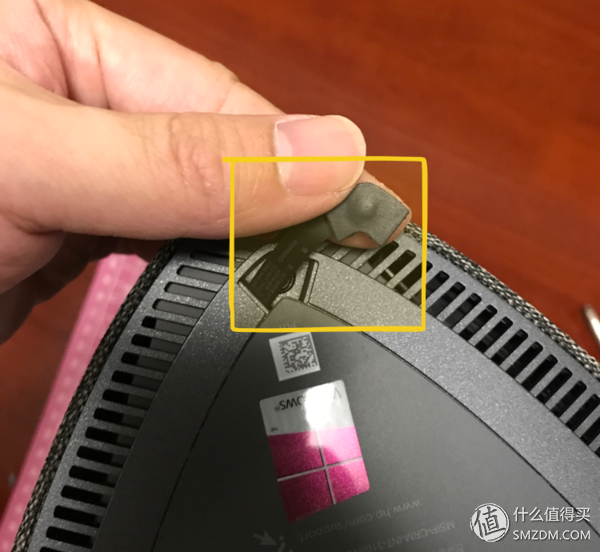
Remove the three screws under the anti-slip mats, and you can open the bottom cover:
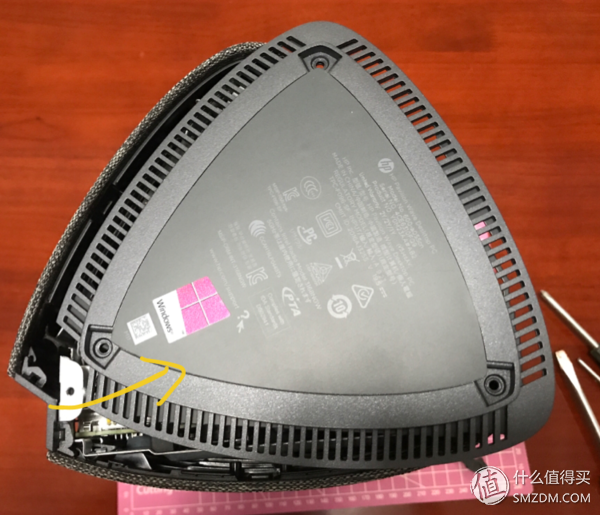
Inside, you’ll find the hard drive, fan, motherboard, all divided into three main sections, with speakers surrounding the middle:
Now, let’s start taking it apart:
First, disconnect the four interface cables connecting the case to the motherboard—two on the small PCB of the case and two on the motherboard:
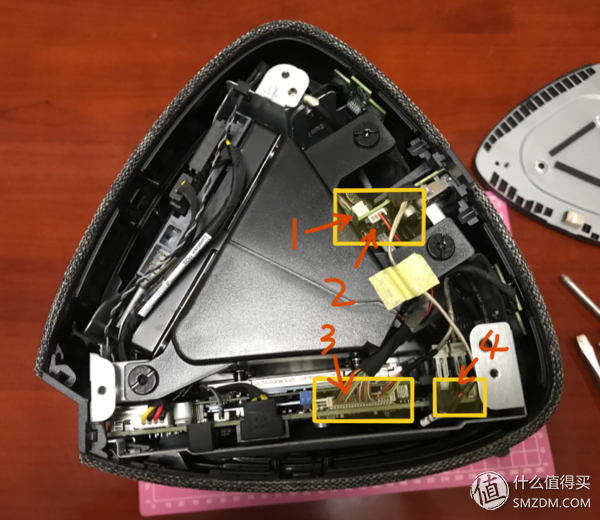
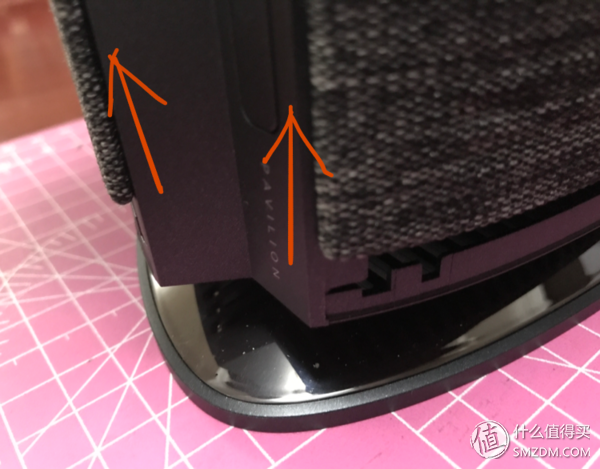
Once those are disconnected, the case can be removed. When holding the computer upside down, gently push the case upward from the edge of the interface area, and the entire case should come off smoothly. Be careful when removing the case, as there are still a few interface cables attached.
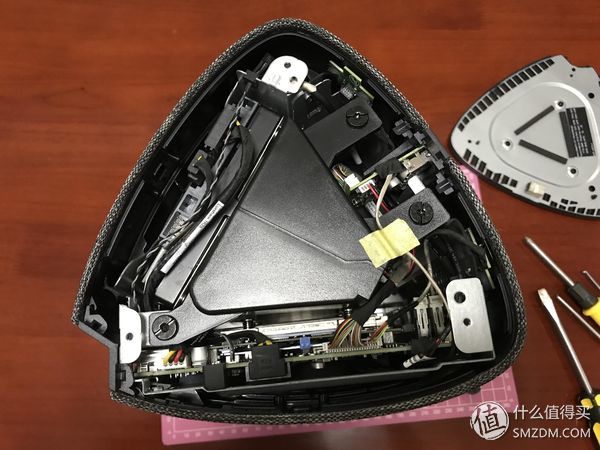
Here’s the removed case:
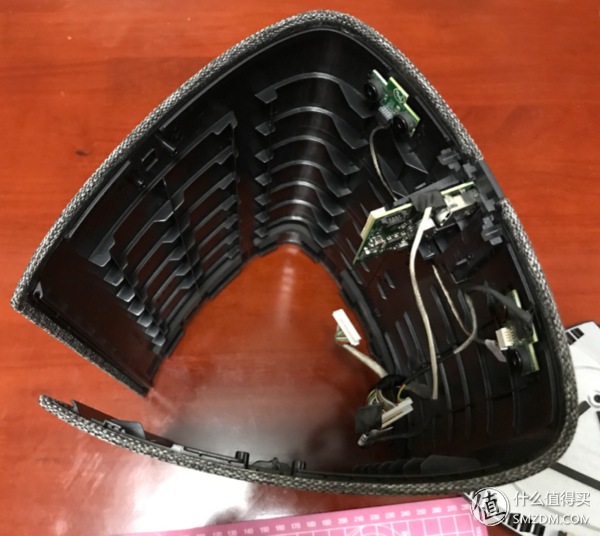
After removing the case, this is what the inside looks like:
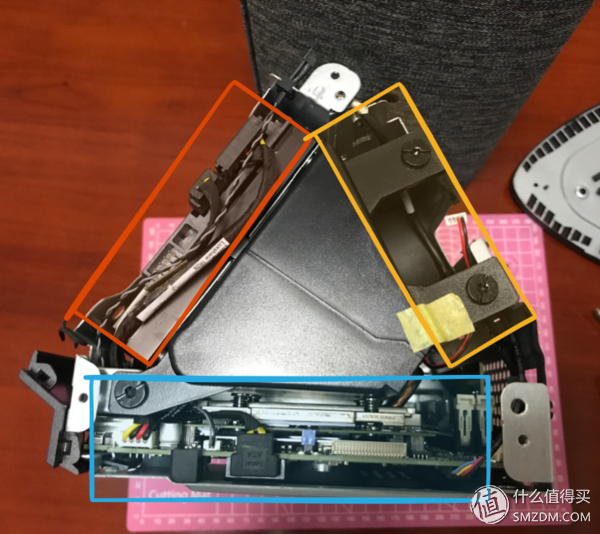
You can now see the three sides of the internal layout.
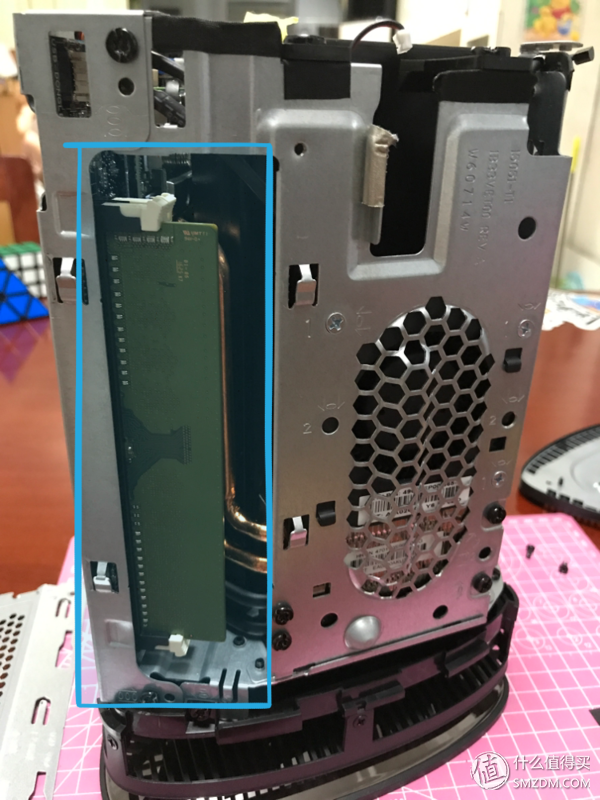
On the left side of the fan bracket is where the memory slots are located. You can separate it by removing one fixing screw from the top of the stand (the red position in the image below), then pushing the small metal plate on the left (blue position in the image below) to access the memory slots:
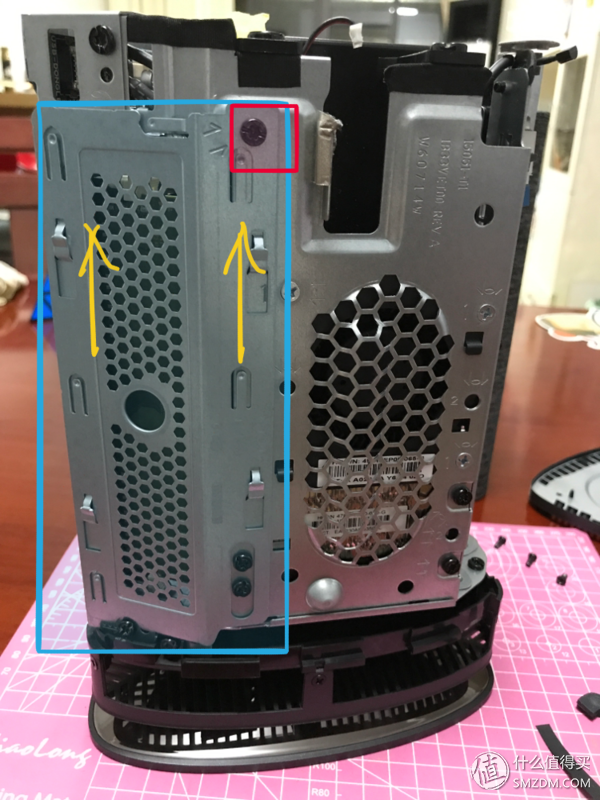
Once opened, it looks like this:
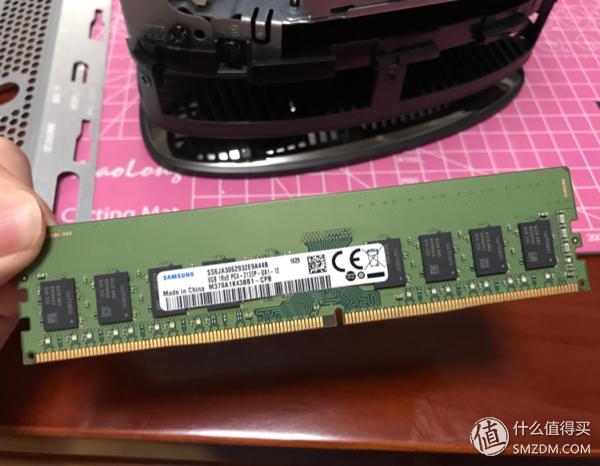
Removing the memory reveals:
There are two slots, so you can expand memory to dual-channel:
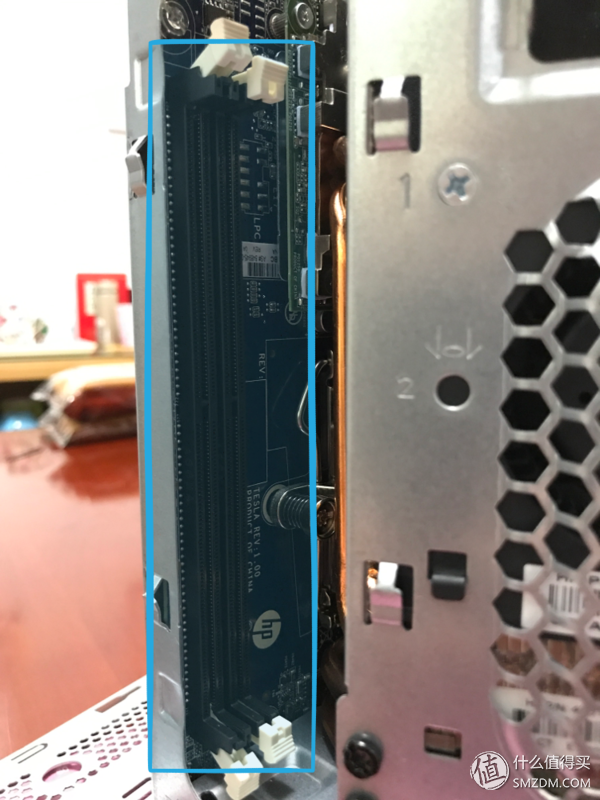
Conclusion 1: Memory expansion is relatively easy.
Next, check the location of the hard drive. It’s secured with four screws and can be removed:
Unplug the hard drive’s data cable, and you can pull it out from above:
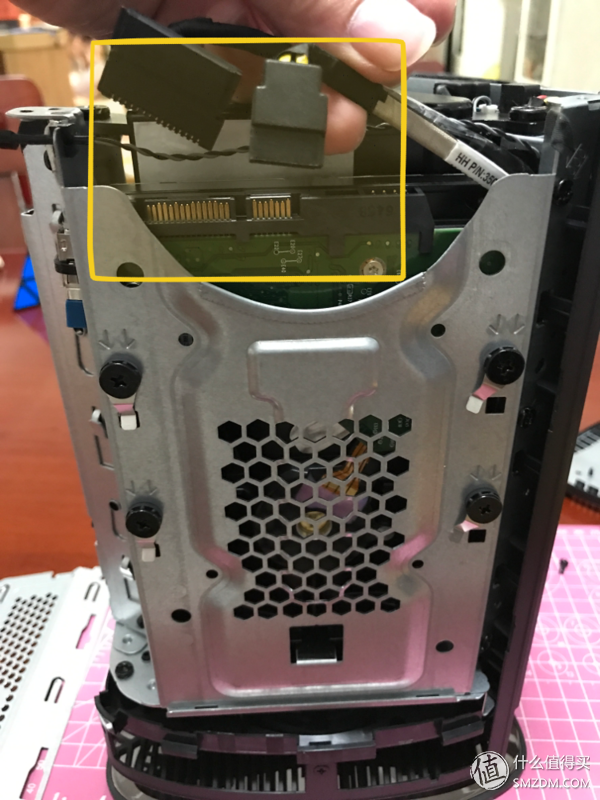
This is a 1TB desktop mechanical hard drive—it’s quite large...
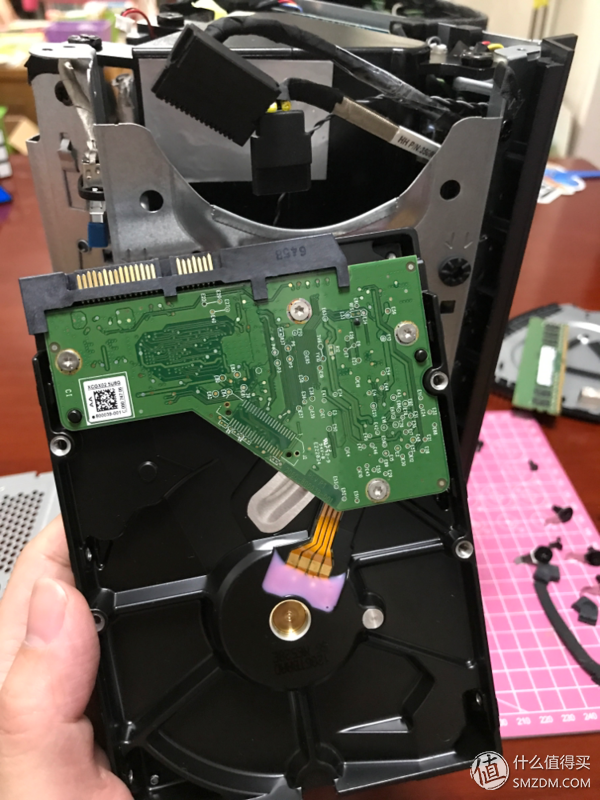
You can replace the mechanical hard drive with an SSD, but it might require adding a mounting bracket since the sizes are different. After checking online, it seems there’s no way to install two hard drives, like an SSD and a notebook mechanical hard drive, even though there’s enough space. The motherboard doesn’t appear to have additional interfaces.
Conclusion 2: Replacing the mechanical hard drive with an SSD isn’t too difficult.
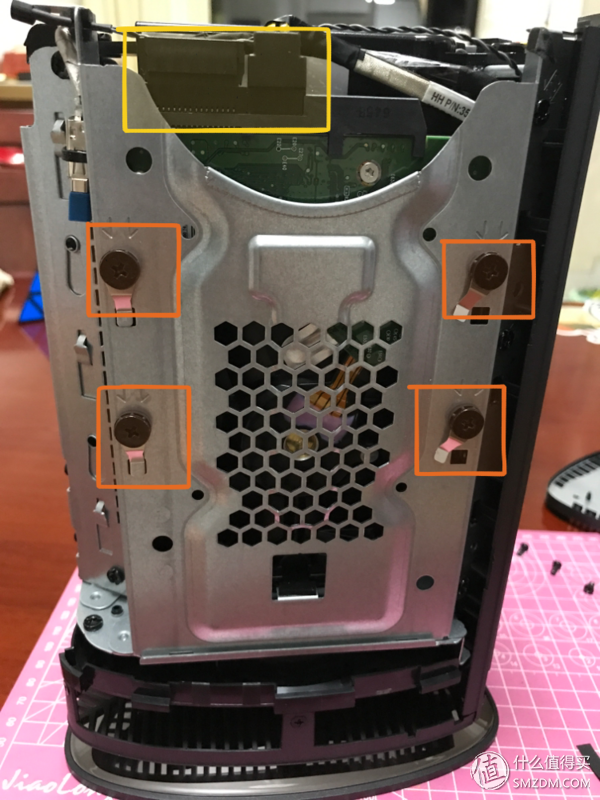
Finally, let’s look at the motherboard location. Online, there seems to be a reserved M.2 interface on the back of the motherboard (likely the blue position in the image below). High-end models come with an SSD plugged into this location. To add an M.2 SSD here, you’d have to remove the motherboard bracket. This would involve removing the top shell of the computer, taking out the speaker, removing the hard drive bracket, and basically everything before you can access the motherboard bracket. Thinking about it, it seems like a lot of work...

It looks like there’s a gap next to the wireless network card, as if you could directly swap it out, but why isn’t there an opening for the M.2 interface?
Conclusion 3: Expanding with an M.2 SSD is difficult...
Now, the fastest solution might be to cut a hole directly into the motherboard bracket.