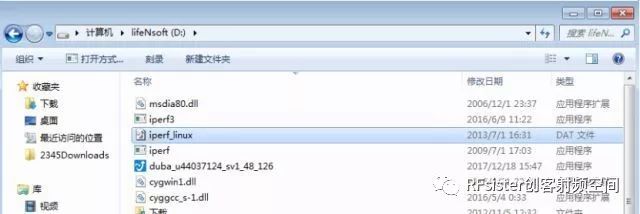
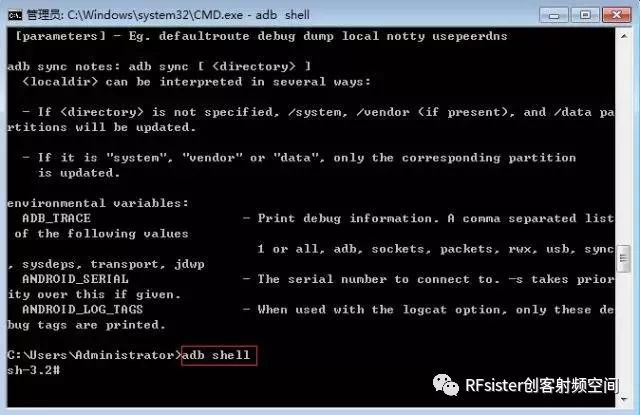
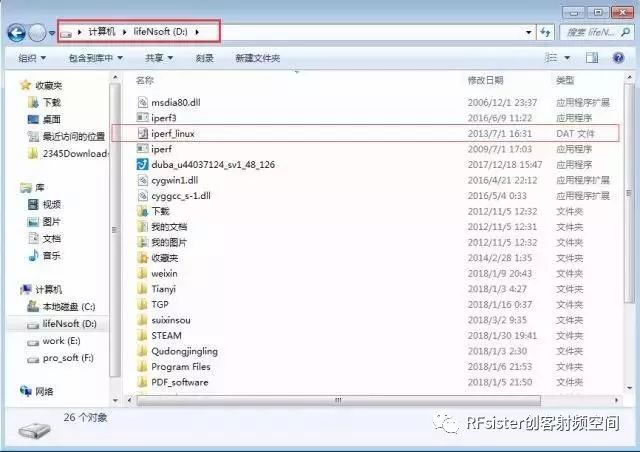
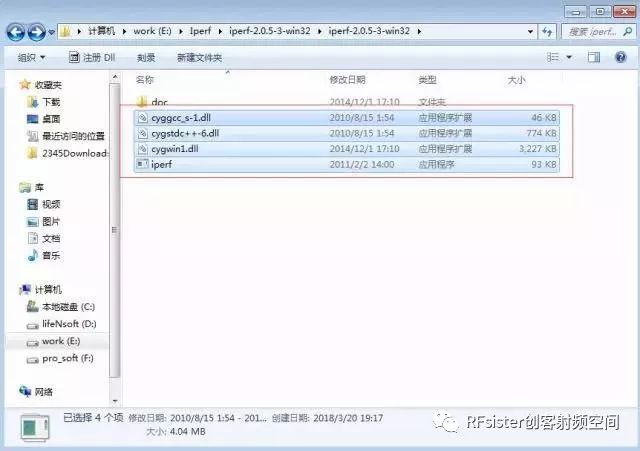
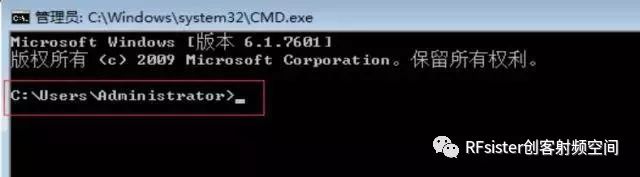
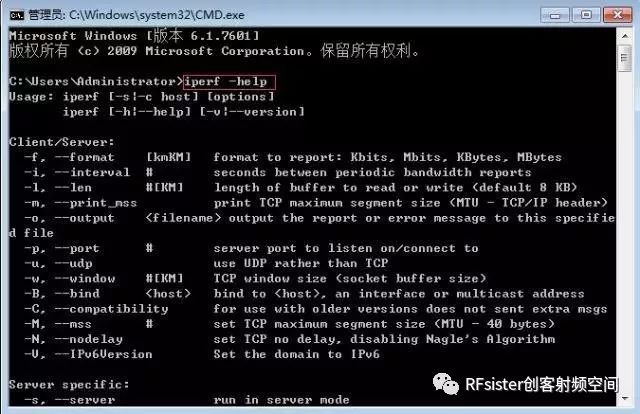
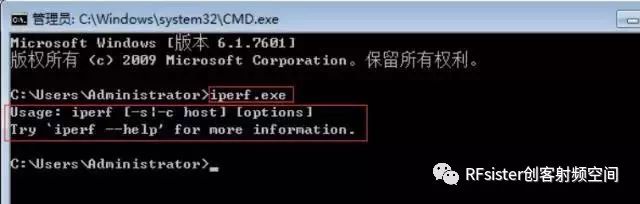
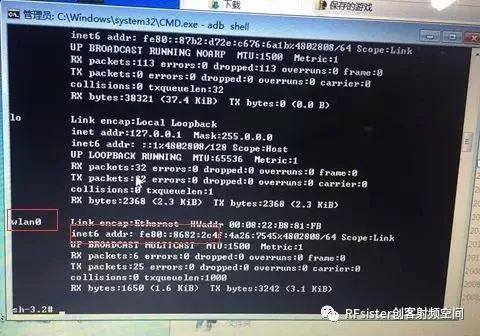
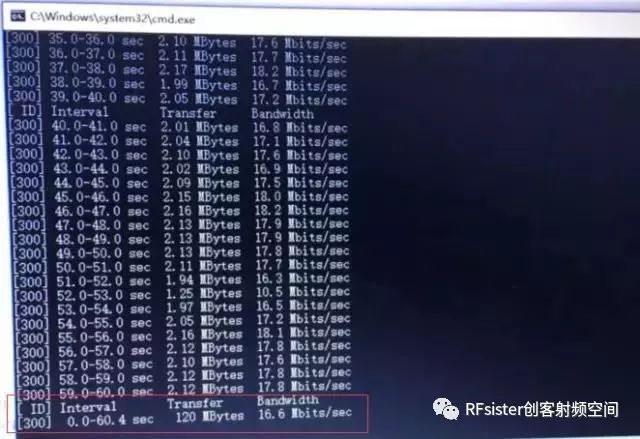
Recently, someone asked my classmate me how to measure the Wi-Fi throughput of Linux devices? Hey, you are asking the right person for such a tall question. Kind-hearted class girl, today I will share a wave of gestures and teach you how to measure the Wi-Fi throughput of Linux devices! 1 Installation of iperf for the device under test (Linux system) 1.1 Download the iperf.dat file of the Linux system from the Internet. After downloading and decompressing, you can see the file with the suffix iperf.dat, as shown in Figure 1.1. Figure 1.1 1.2 Connect the computer to the device under test. If the device has a Micro USB port, connect it with a USB cable, or use the serial port on the motherboard to connect (note that the TX of USB to TTL is connected to the RX of the device, and the RX of USB to TTL is connected to the TX of the device. ). 1.3 Open CMD, enter adb shell in the CMD window to enter the operation level of the device to be tested (provided that the adb tool is installed on the computer), as shown in Figure 1.2 below. Figure 1.2 1.4 Enter adb devices in the CMD window to search for devices. 1.5 Enter the command adb remount to change adb to a readable and writable mode. 1.6 Open the folder where iperf_linux.dat is located (if iperf_linux.dat exists in the U disk, copy the file to the computer's hard disk first), click the path at the top of Figure 1.3, and copy the path where the iperf_linux.dat file is located. Figure 1.3 1.7 Enter adb push D:\iperf_linux.dat data/ in the CMD window, which means copy the iperf_linux.dat file in the D disk into the data folder of the DUT (note: the folder name corresponding to each DUT may not be Both are called data). 1.8 After closing the CMD window, reopen the CMD and enter adb shell to enter the DUT operation level; enter iperf to see that the relevant help commands of iperf -help are printed out, which means that the iperf on the DUT can be used normally. 2 Installation of iperf.exe on the computer 2.1 Download the iperf-2.0.5-3-win32 installation package on the computer and decompress it. After decompression, you can see the files in the folder iperf-2.0.5-3-win32, as shown in Figure 2.1. Figure 2.1 2.2 Open the CMD window and copy the four files in the iperf-2.0.5-3-win32 folder to the path shown in Figure 2.2. 2.3 After closing CMD, reopen the CMD window, enter iperf –help, you can see the help command for printing iperf, and the last display is Report bugs to , As shown in Figure 2.3 and Figure 2.4; enter the command iperf.exe, you can see as shown in Figure 2.5, indicating that the iperf software on the computer is successfully installed. Figure 2.3 Figure 2.4 Figure 2.5 3 Setting up the environment · Required equipment 3.1 Prepare two PCs, one DUT and one router. (Actually, a computer can also be implemented. Open two CMD windows in one computer, one is used to control the DUT and the other is the server side; but because the DUT data line is not long enough, one computer can only perform close-range testing , So you need to use two PCs, one is used to control the DUT, the other is the server side). · Device connection 3.2 The connection of the device is shown in Figure 3.1. Figure 3.1 3.3 To use iperf to test throughput, first place the speaker and PC2 in the same local area network, so use PC1 to control the Wi-Fi of the speaker connected to the router; secondly, connect PC2 to the router with a network cable, and use the router as a relay to make The speakers and PC2 are in the same local area network. 3.4 Log in to 192.168.1.1 in PC2, configure the router's mode, channel, bandwidth, frequency, password, etc. 3.5. Open CMD on PC1, enter adb shell to enter the device (Note: The Wi-Fi scheme used by DUT may have different commands) 3.5.1 Enter the 8516_wlan.sh command to open the Wi-Fi connection option 3.5.2 Enter 3 to select wlan connect (the wlan connect operation is defined as "3" in the MT8516 scheme) 3.5.3 Enter the SSID of the router. For example, if the SSID of the router is ASUS, enter "ASUS". Remember that the double quotation marks cannot be omitted and English characters should be used. 3.5.4 Then enter the router’s password, for example, if the router’s password is 12345678, then enter "12345678". Also note that the double quotation marks should not be omitted (PS: the router should have a password to prevent DUT from being connected to the router). Set a password, just press Enter to skip. 3.5.5 After waiting for a second or two, you can see a string of OK characters in the CMD window, indicating that the Wi-Fi connection is successful; close the CMD of PC1 (the device will generally not be disconnected when the device is connected to Wi-Fi. It's okay). · Test procedure (Note: The premise of the following steps is that the device under test has been connected to the Wi-Fi of the router. Please refer to section 3.5 for how to connect) Take the RX test as an example: 3.6 Open CMD in PC1, enter adb shell to enter the device operation layer. 3.6.1 Enter iperf to start the iperf service in the device. 3.6.2 Enter ifconfig to query the IP address of the device under test, and the picture shown in Figure 3.2 appears. If the device is connected to the router, the DUT's IP address will be displayed in the red position of wlan0. Remember the IP address. Figure 3.2 3.6.3 Enter iperf -s -i 1 -w 1M to set PC1 as the server. The command -s represents the server; -i 1 represents the output results printed once per second. 3.6.4 Open CMD in PC2, enter iperf.exe to open iperf on PC2 computer 3.6.5 Input iperf.exe –c 192.168.X.XX –i 1 –w 1M –t 60 command to start the test. The -c in this sentence refers to PC2 as the client Client; the IP address is the address of the device to be tested; -i 1 means that the results are printed and displayed every second; -t 60 means that the test time is 60 seconds. The test process is shown in Figure 3.3. Figure 3.3 GALOCE weight indicators are available in a variety of materials ranging from aluminum to 304 stainless steel enclosures and come with a variety of display options ranging from LCD, LED to large displays and wireless options. output RS232/RS485, can conntact the computer. Optional wall mount kit, stainless steel bracket. Weight Indicator,Digital Load Cell Indicator,Indicator Load Cell, load cell display GALOCE (XI'AN) M&C TECHNOLOGY CO., LTD. , https://www.galoce-meas.com